Last Minute Halloween Treat: Edible Brains | Kelly Sugar Crafts

Last Minute Halloween Treat: Edible Brains

Last Minute Halloween Treat: Edible Brains | Kelly Sugar Crafts

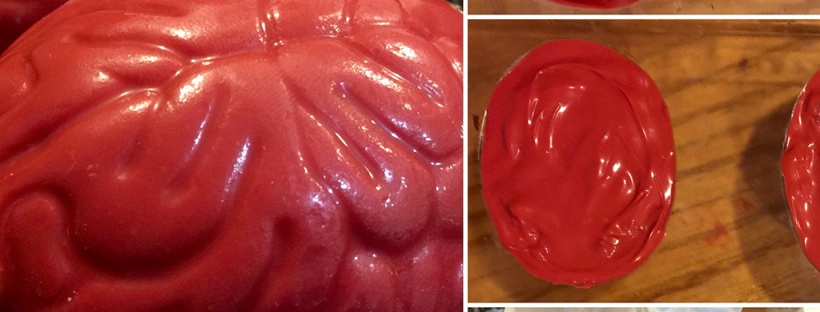
Looking for a last minute treat to make for Halloween? These edible brains are really simple and easy to create. They also make really cool Halloween treats!

Materials Needed:

  • Red Candy Melts
  • Cake or Brownies
  • Brain mold(s) – I found mine at a local baking supplies store

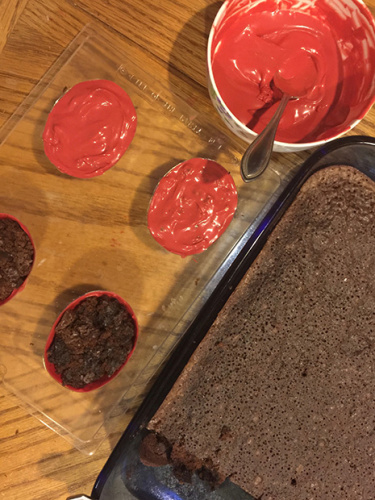
First, have your cake or brownies already cooked and cooled. Next, melt the candy melts in the microwave for 30 seconds, stir, then microwave for another 30 second or until melted.

Cover the sides and bottom of the mold with the melted candy. Put the mold in the freezer for 5 minutes. After you take the mold out of the freezer, stuff the mold cavities with cake or brownie, and flatten gently with a spoon or your hand. The cake in the mold needs to be as smooth as possible if you want the brains to have a smooth bottom.

Last Minute Halloween Treat: Edible Brains | Kelly Sugar Crafts

After stuffing the mold with cake, cover the cake with candy melts and put the mold back in the freezer for 15-20 mins. If you flip the mold over, the brains should come out very easily.

Now you have delicious brains to eat on Halloween!! Muahaha!

♥

Happy Halloween!

How To: Edible Candy Letters & Designs

How To: Edible Candy Letters & Designs | KellySugarCrafts

Edible Candy Letters & Designs

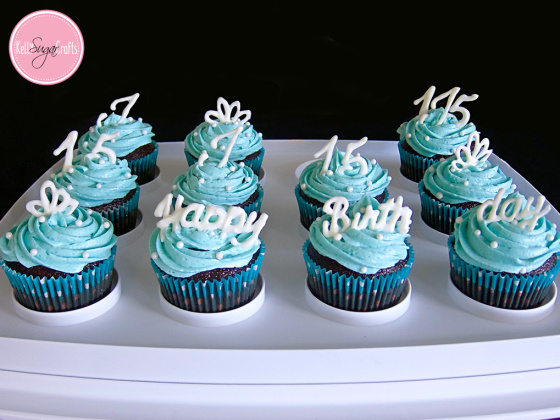
Using candy letters and designs are a great and easy way to decorate cakes or cupcakes. I recently used this decorating trick for my cousin’s birthday cupcakes and for halloween cupcakes shown below.
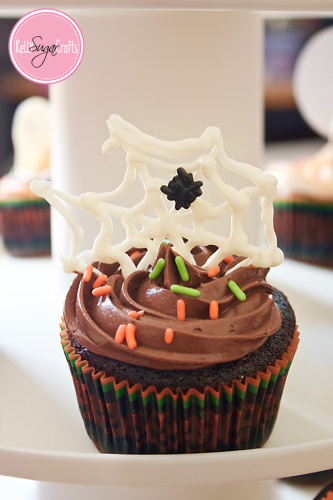
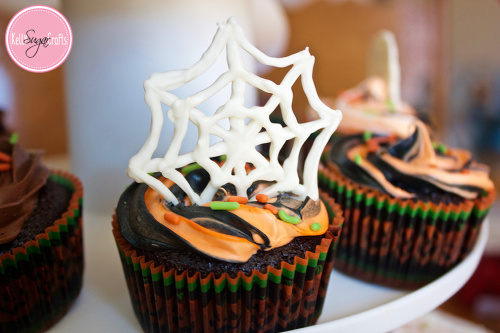
How To: Edible Candy Letters & Designs | KellySugarCrafts How To: Edible Candy Letters & Designs | KellySugarCrafts

Here’s how I made my edible designs:
How To: Edible Candy Letters & Designs | KellySugarCrafts

Materials Needed:

  • Candy Melts or Chocolate
  • Parchment Paper
  • Template for letters or designs; unless doing freehand
  • Decorating or Parchment Bags
  • Small round tip – Wilton #3 tip works fine (using a tip is optional)
  • Tape

First, set up your decorating bag and attach a tip if using one. You may need more than one decorating bag if using multiple colors or in case your candy hardens while piping designs. I created my own parchment decorating bag and didn’t use a tip. You can find instructions for creating a parchment bag on the Wilton website here. Just make sure you have a small round hole at the tip when creating your own decorating bag.

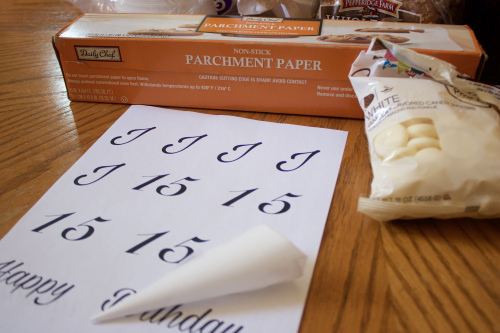
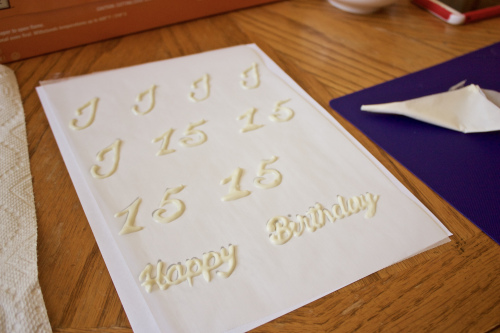
Next, place parchment paper over your template if using one; I used a document editor to pick out fonts I wanted for my letters & numbers and created a quick template for myself. You will want to tape the parchment paper down so it doesn’t curl.

Place candy in a microwave safe bowl and place in the microwave for 30 seconds. Stir the candy, then place back in the microwave for another 30 seconds. Stir again. Candy should be melted, but if not then place back in microwave.
How To: Edible Candy Letters & Designs | KellySugarCrafts

My template with Js, 15s, & Happy Birthday – Traced w/candy melts

Pour melted candy into decorating bag and now you can trace your template or start drawing freehand. Make sure you make the letters/designs thick enough where they won’t break when peeled from the paper. Don’t worry if you don’t get the thickness right the first time, I had to redo “Happy Birthday”, it takes practice!

After you are done piping your letters/designs, place it in the fridge or freezer for 5-10 minutes to harden. The designs should peel off very easily or be separated from the paper on its own. If this doesn’t happen, then you need to place it back in the fridge or freezer for a little longer. Peel off the designs and place on frosted cakes or treats.

Tip: make sure your hands are cool when handling the candy designs. If your hands are very warm, just place your hands under running cold water and dry right before handling the designs.

♥

Happy Decorating!

– Kelly
Minnie Mouse Giant Cupcake | KellySugarCrafts

Giant Minnie Mouse Cupcake

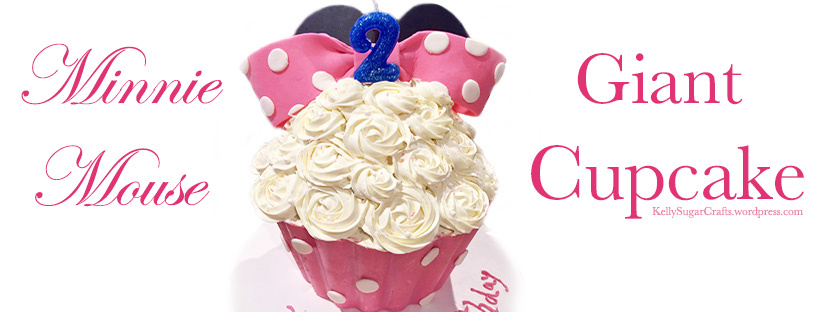
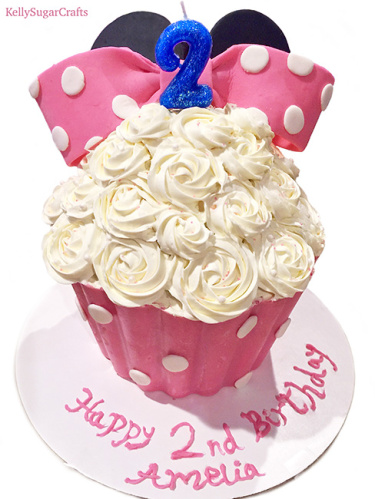
My niece recently turned 2, and she is obsessed with Minnie Mouse. So, I made a Minnie Mouse cake for her, a giant cupcake to be exact.

MinnieMouse GC White

Minnie Mouse Giant Cupcake

Materials needed:

  • 2 cake box mixes or use own cake recipe
  • Giant Cupcake Pan – I used Wilton’s
  • Fondant – I made my own marshmallow fondant (mmf)
  • 1 bag of Candy Melts, any color you like – used to create “cupcake liner”
  • 3″ round cookie/fondant cutter – for mouse ears
  • Small round fondant cutter (1″, 5/8″, or smaller) – for polka dots
  • Frosting of your choice
  • Non-stick spray (can substitute with shortening and flour)
  • 2 skewers or toothpicks

I suggest making the fondant creations and candy cupcake liner before baking the cake.

Continue reading →

Testing The Waters

I have finally decided to start a blog, after thinking about making one for at least a year. I didn’t know what to blog about, but I now have an idea.

I plan on creating blog posts about baking, cake/cupcake decorating, and maybe some DIY crafts. I’d also like to create a post at least once a week. Hopefully I stick to it!

♥

My niece recently turned 2 and I made a giant Minnie Mouse cupcake for her; I’ll be posting about how it was made real soon!

-Kelly