
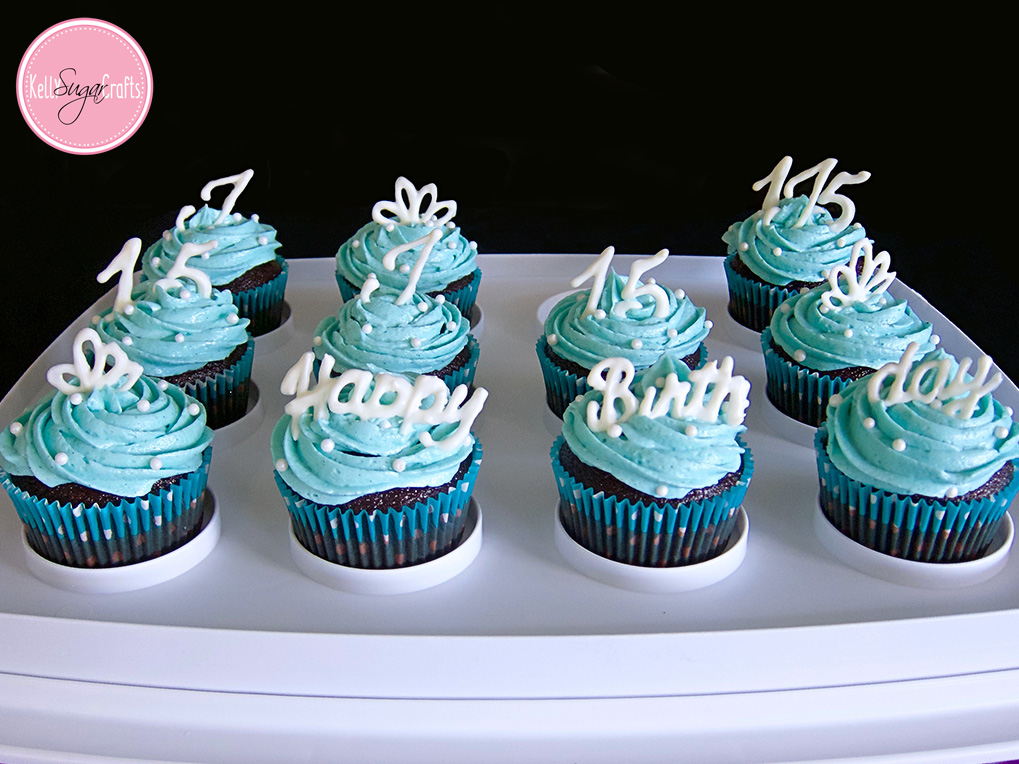
Using candy letters and designs are a great and easy way to decorate cakes or cupcakes. I recently used this decorating trick for my cousin’s birthday cupcakes and for halloween cupcakes shown below.
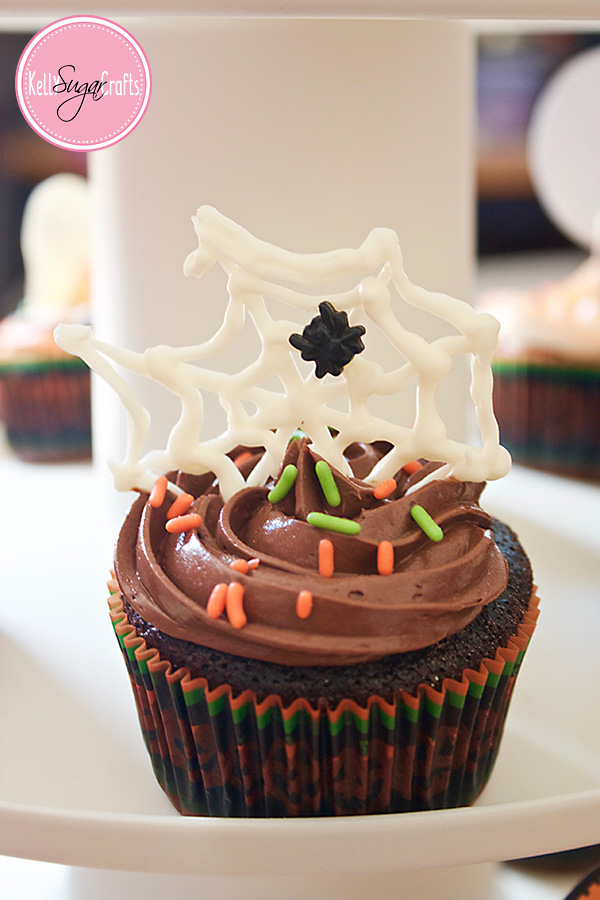
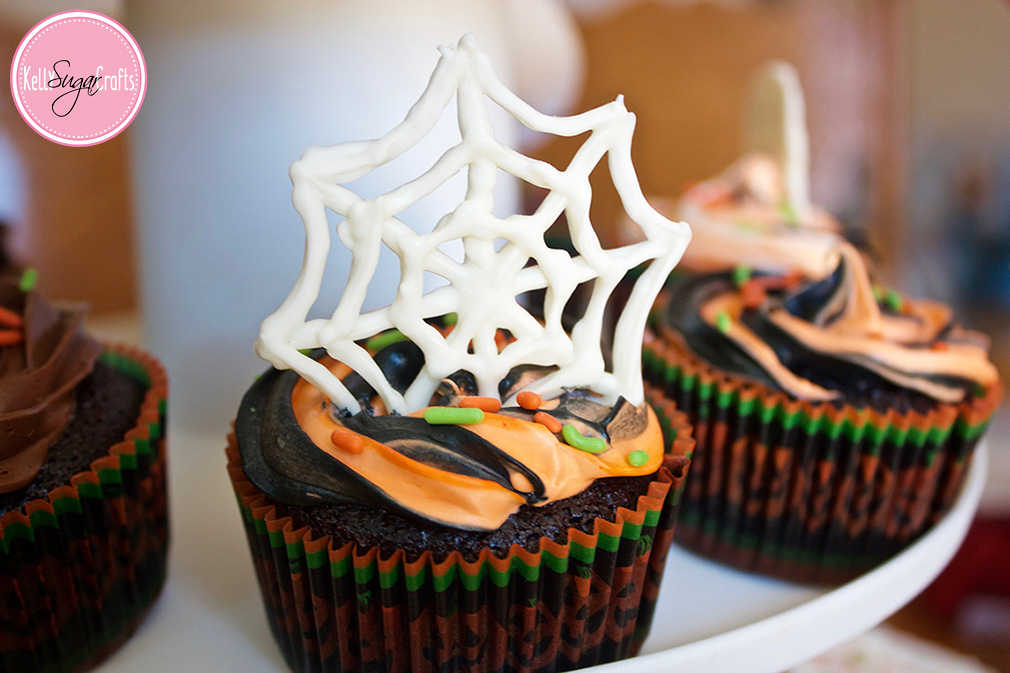
Here’s how I made my edible designs:
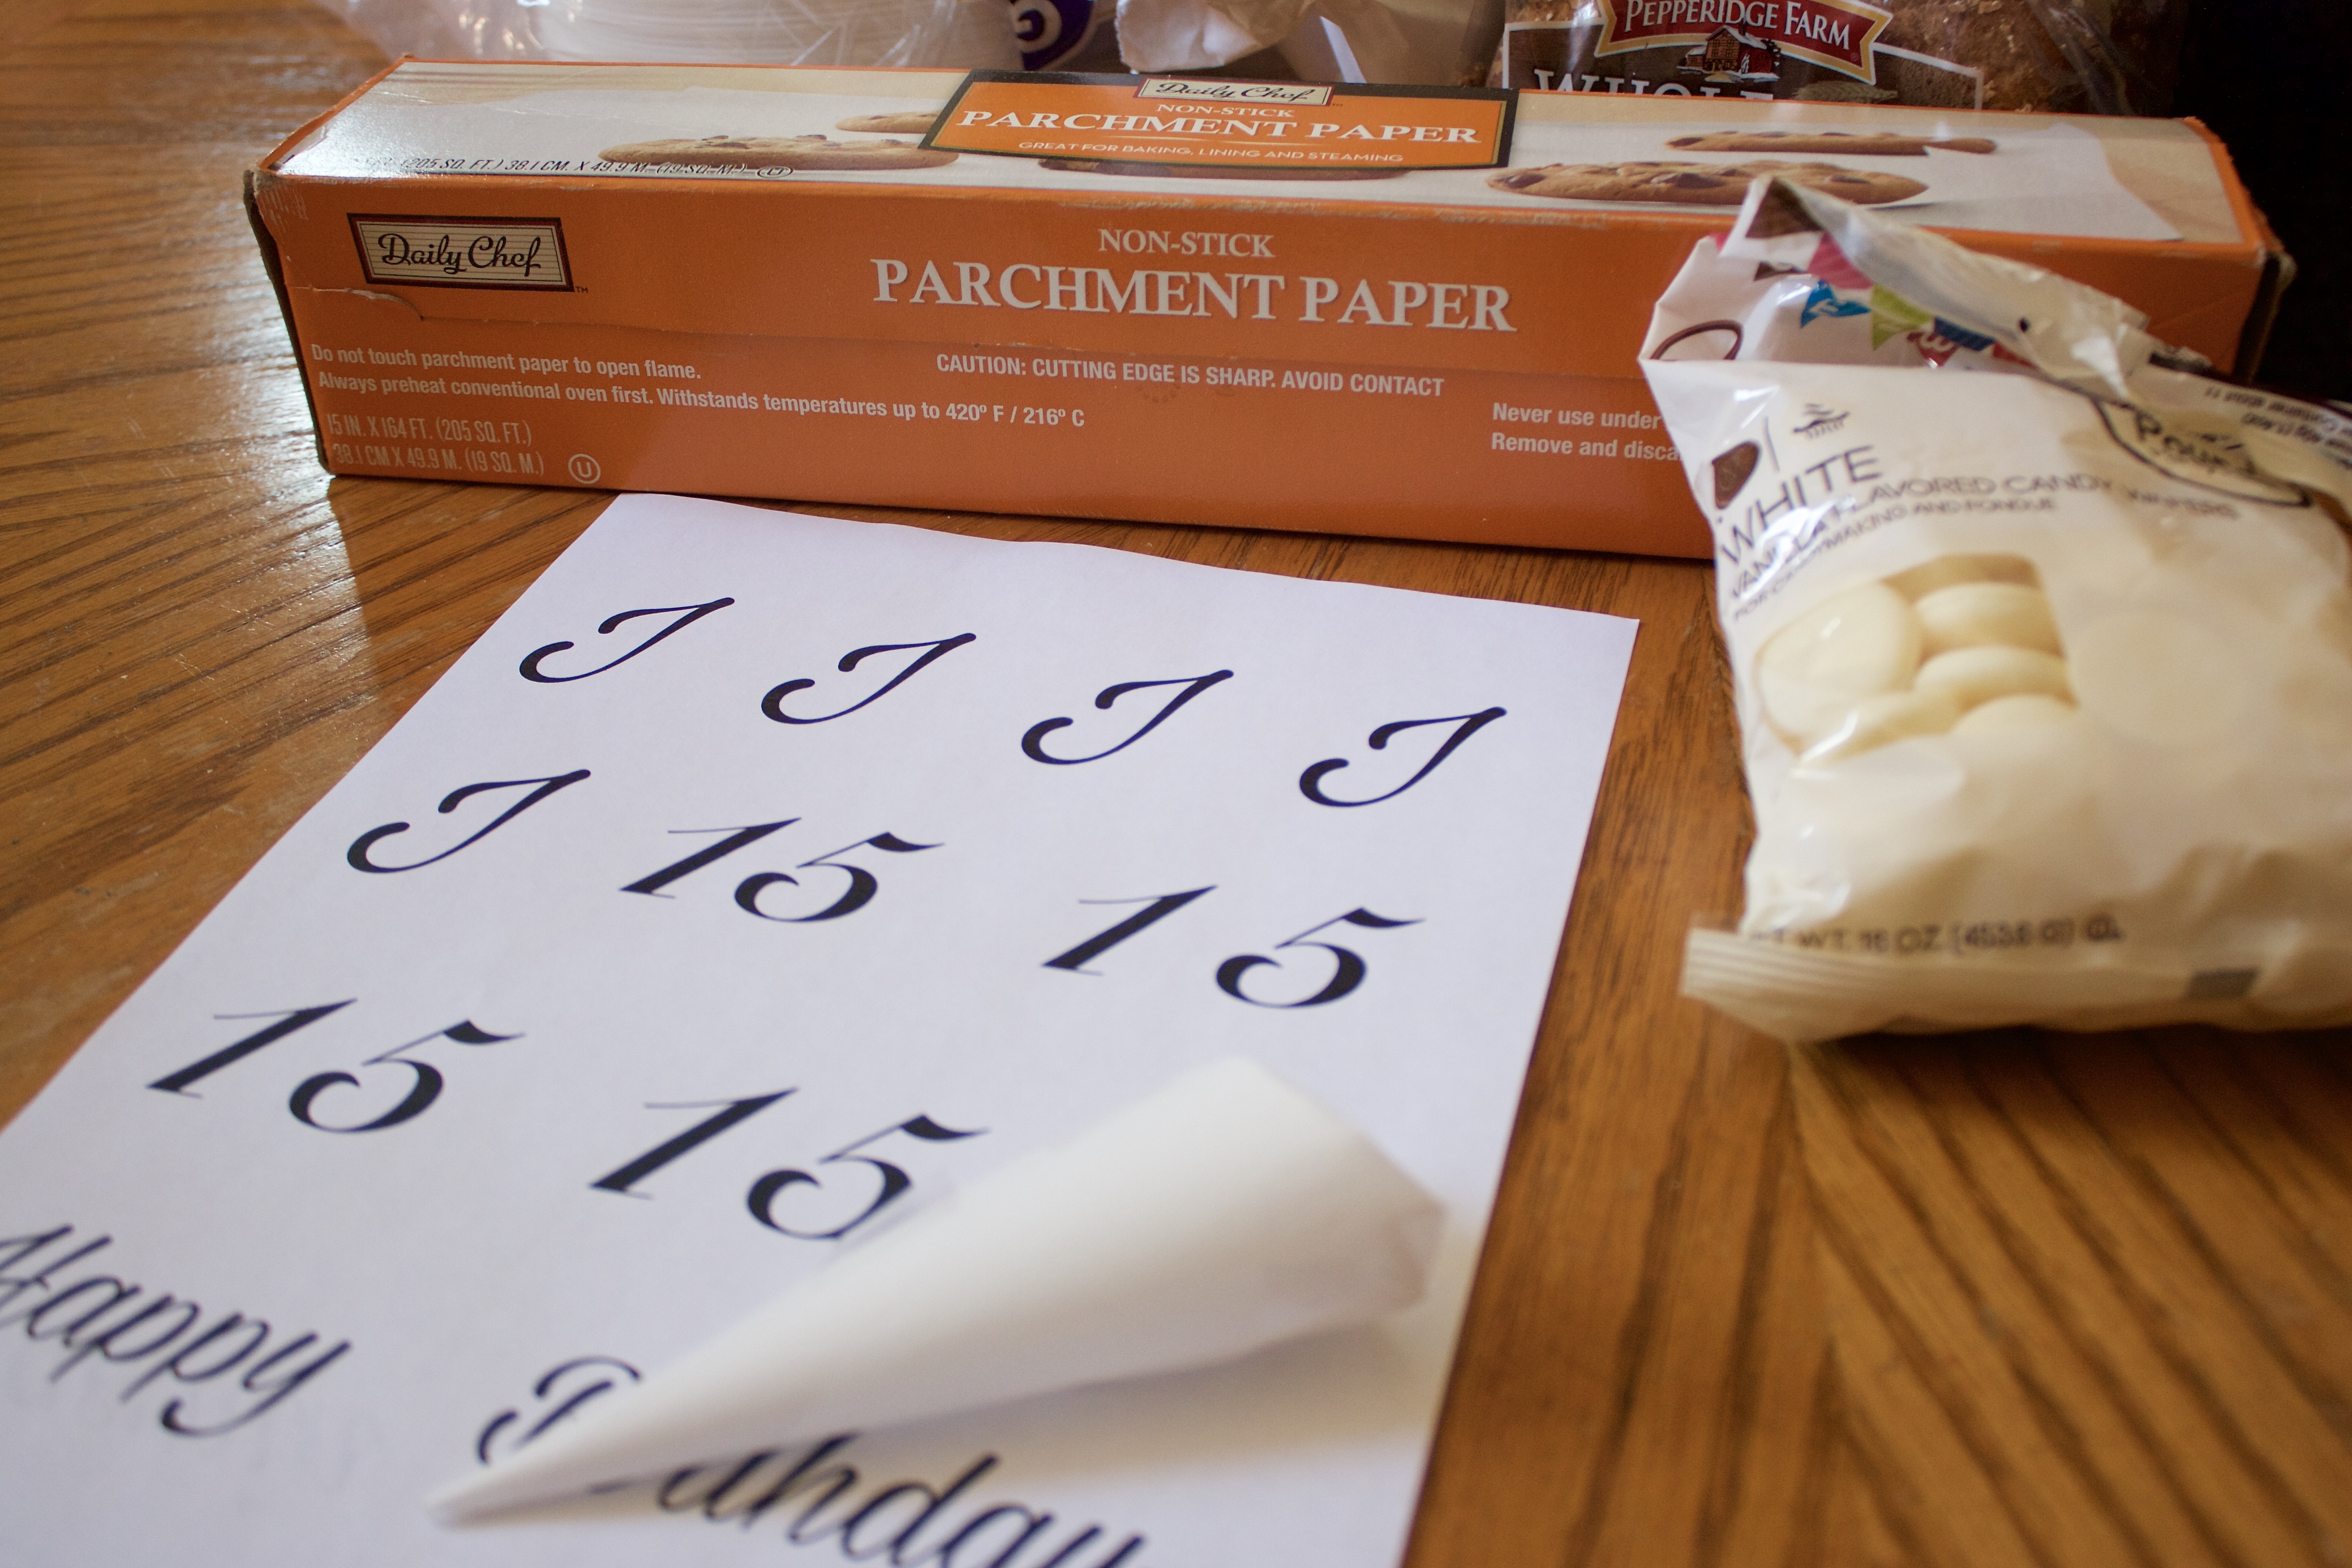
Materials Needed:
- Candy Melts or Chocolate
- Parchment Paper
- Template for letters or designs; unless doing freehand
- Decorating or Parchment Bags
- Small round tip – Wilton #3 tip works fine (using a tip is optional)
- Tape
First, set up your decorating bag and attach a tip if using one. You may need more than one decorating bag if using multiple colors or in case your candy hardens while piping designs. I created my own parchment decorating bag and didn’t use a tip. You can find instructions for creating a parchment bag on the Wilton website here. Just make sure you have a small round hole at the tip when creating your own decorating bag.
Next, place parchment paper over your template if using one; I used a document editor to pick out fonts I wanted for my letters & numbers and created a quick template for myself. You will want to tape the parchment paper down so it doesn’t curl.
Place candy in a microwave safe bowl and place in the microwave for 30 seconds. Stir the candy, then place back in the microwave for another 30 seconds. Stir again. Candy should be melted, but if not then place back in microwave.
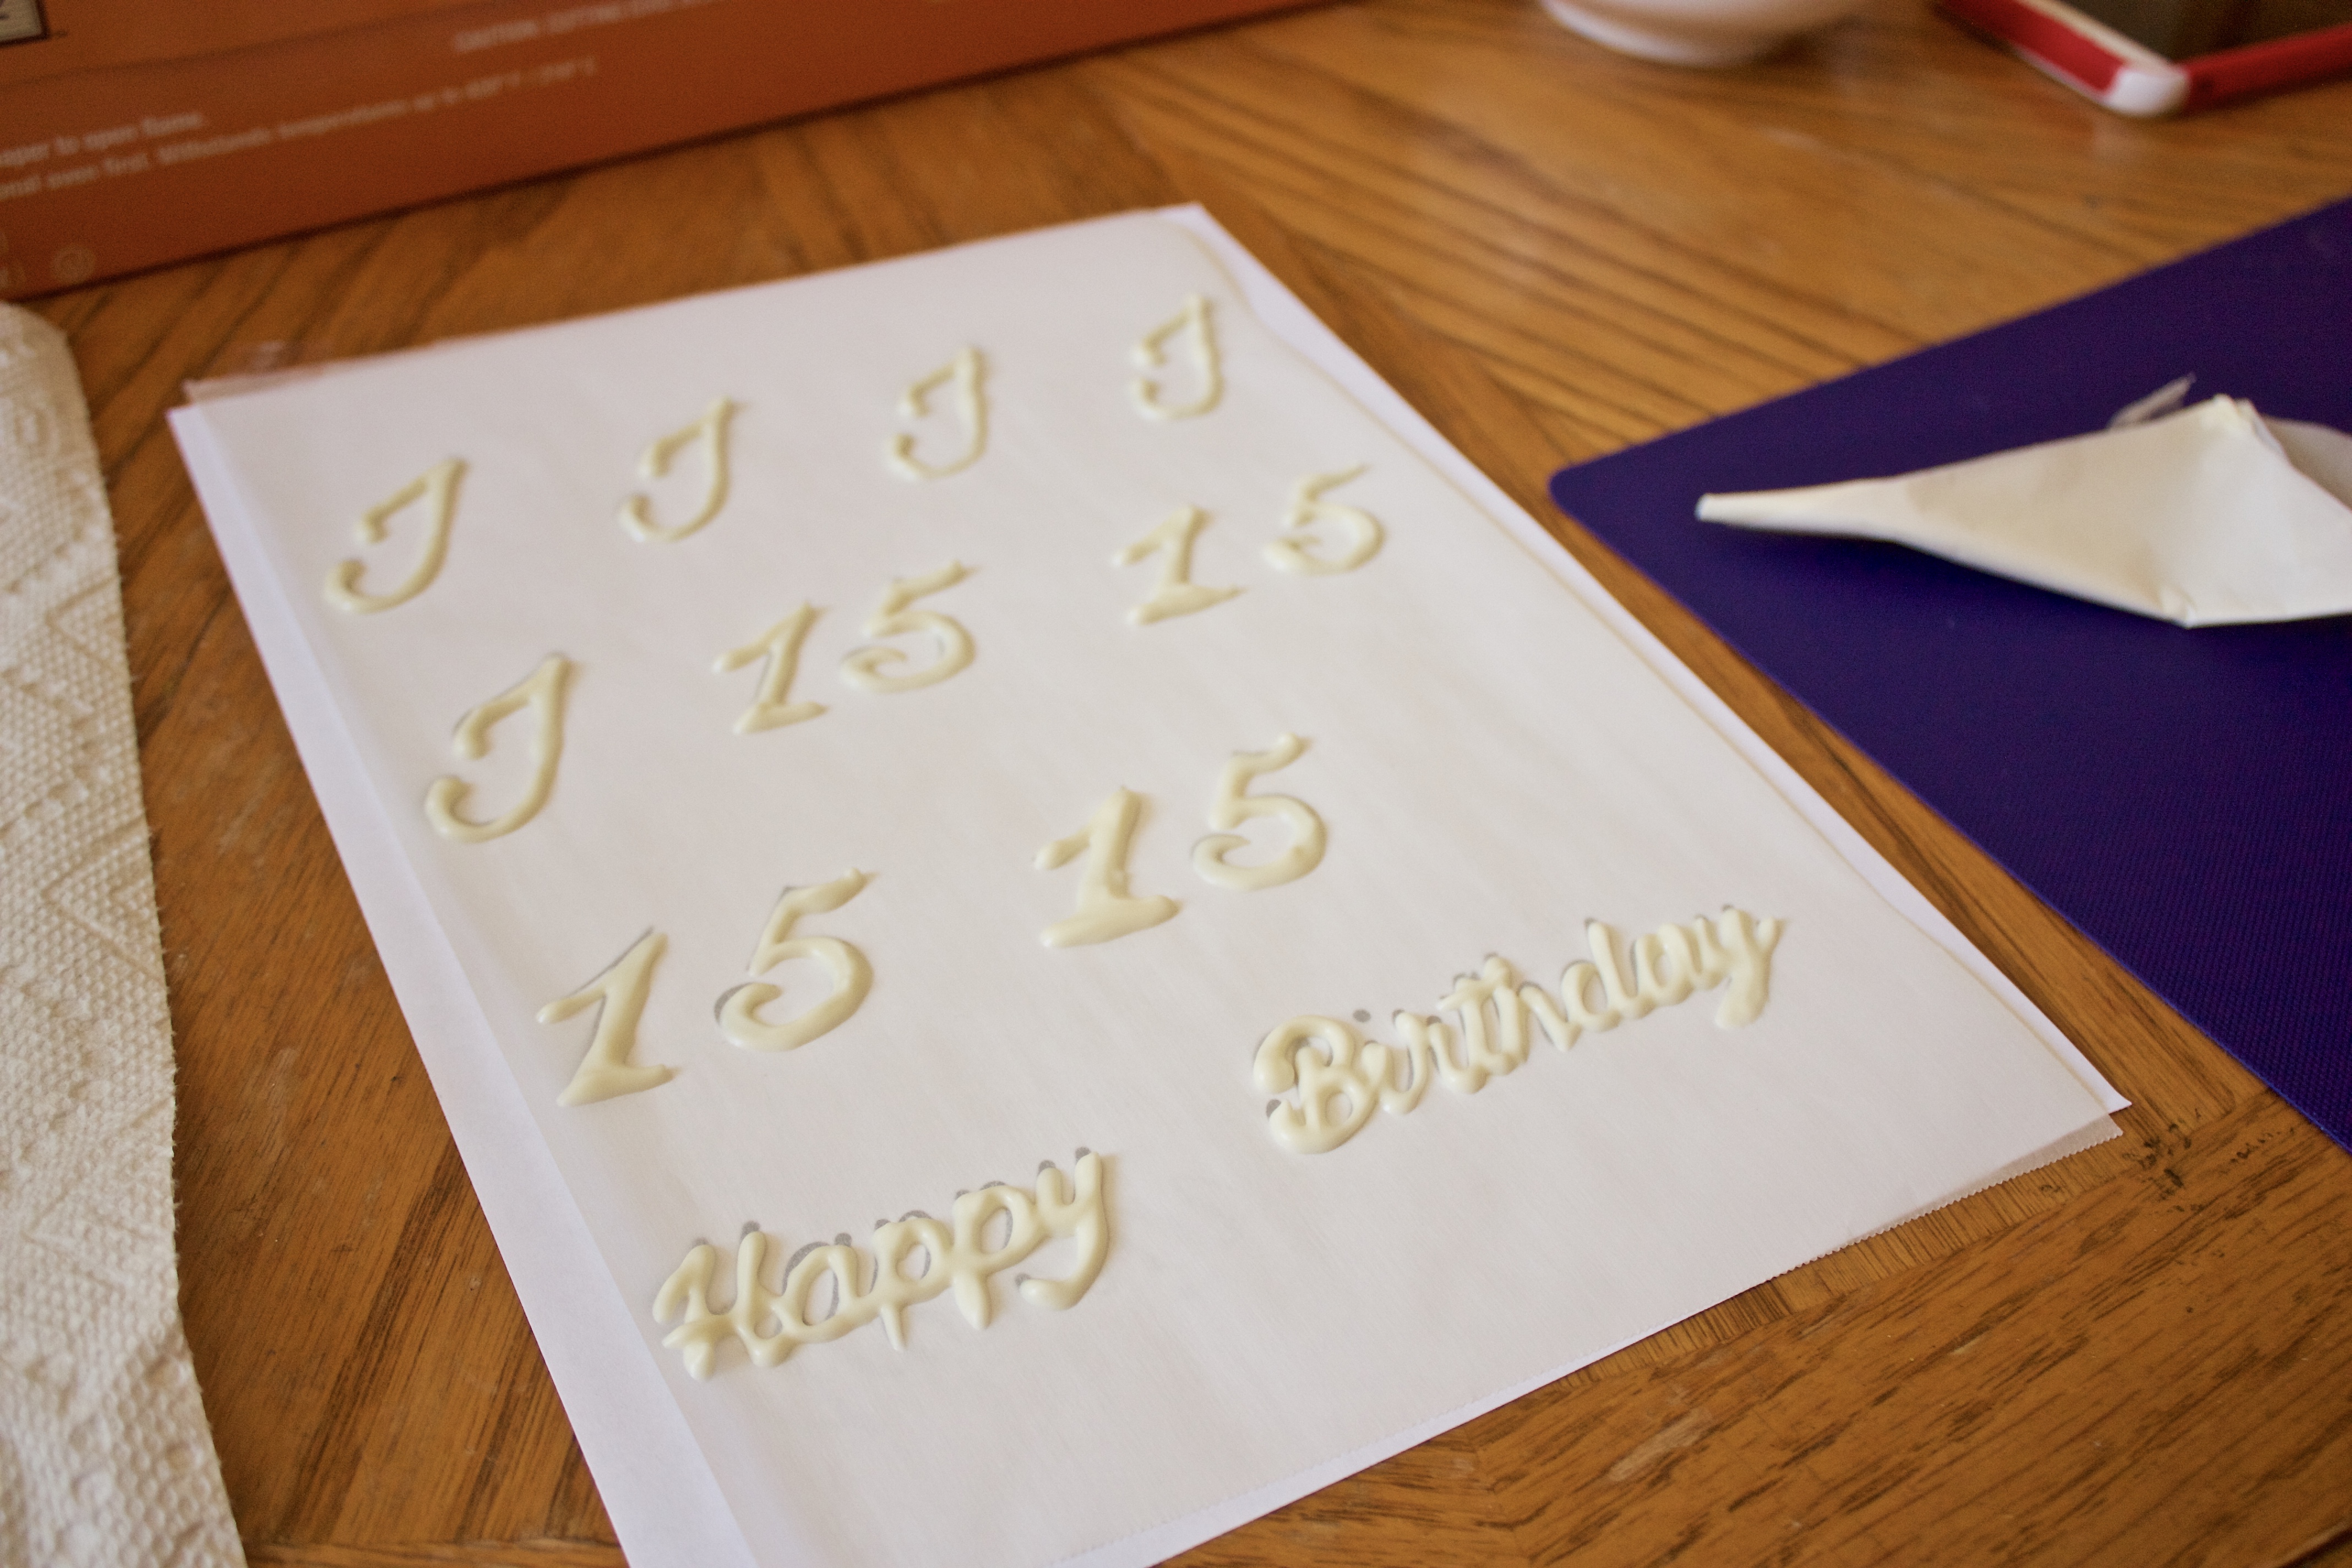
Pour melted candy into decorating bag and now you can trace your template or start drawing freehand. Make sure you make the letters/designs thick enough where they won’t break when peeled from the paper. Don’t worry if you don’t get the thickness right the first time, I had to redo “Happy Birthday”, it takes practice!
After you are done piping your letters/designs, place it in the fridge or freezer for 5-10 minutes to harden. The designs should peel off very easily or be separated from the paper on its own. If this doesn’t happen, then you need to place it back in the fridge or freezer for a little longer. Peel off the designs and place on frosted cakes or treats.
Tip: make sure your hands are cool when handling the candy designs. If your hands are very warm, just place your hands under running cold water and dry right before handling the designs.
♥
Happy Decorating!
– Kelly